Understanding Loaders In Webpack
Webpack creates a dependency graph about all the files referenced in our application. It starts with the entry file and go in depth with the help of import or require statments in the code.
So when webpack sees, import React from "react", it adds the React library to the bundle. Out of the box, Webpack can only understand and include JavaScript and JSON files.
CSS Import
What if there is a CSS file import like, import "./styles.css"? Let us try it in our code. Say, we have an index.js file that imports style.css.
Here is our index.js file:
import "./style.css";

console.log("I am good");
And, here is our style.css file:
h1 {
  color: red;
}
Our expectation is that, Webpack will bundle both the files and creates a main.js bundle under ./dist folder. We do not require an explicit webpack.config.js file now. Let us try with the default webpack configuration.
When we try to build the source files, we see below error message in console.
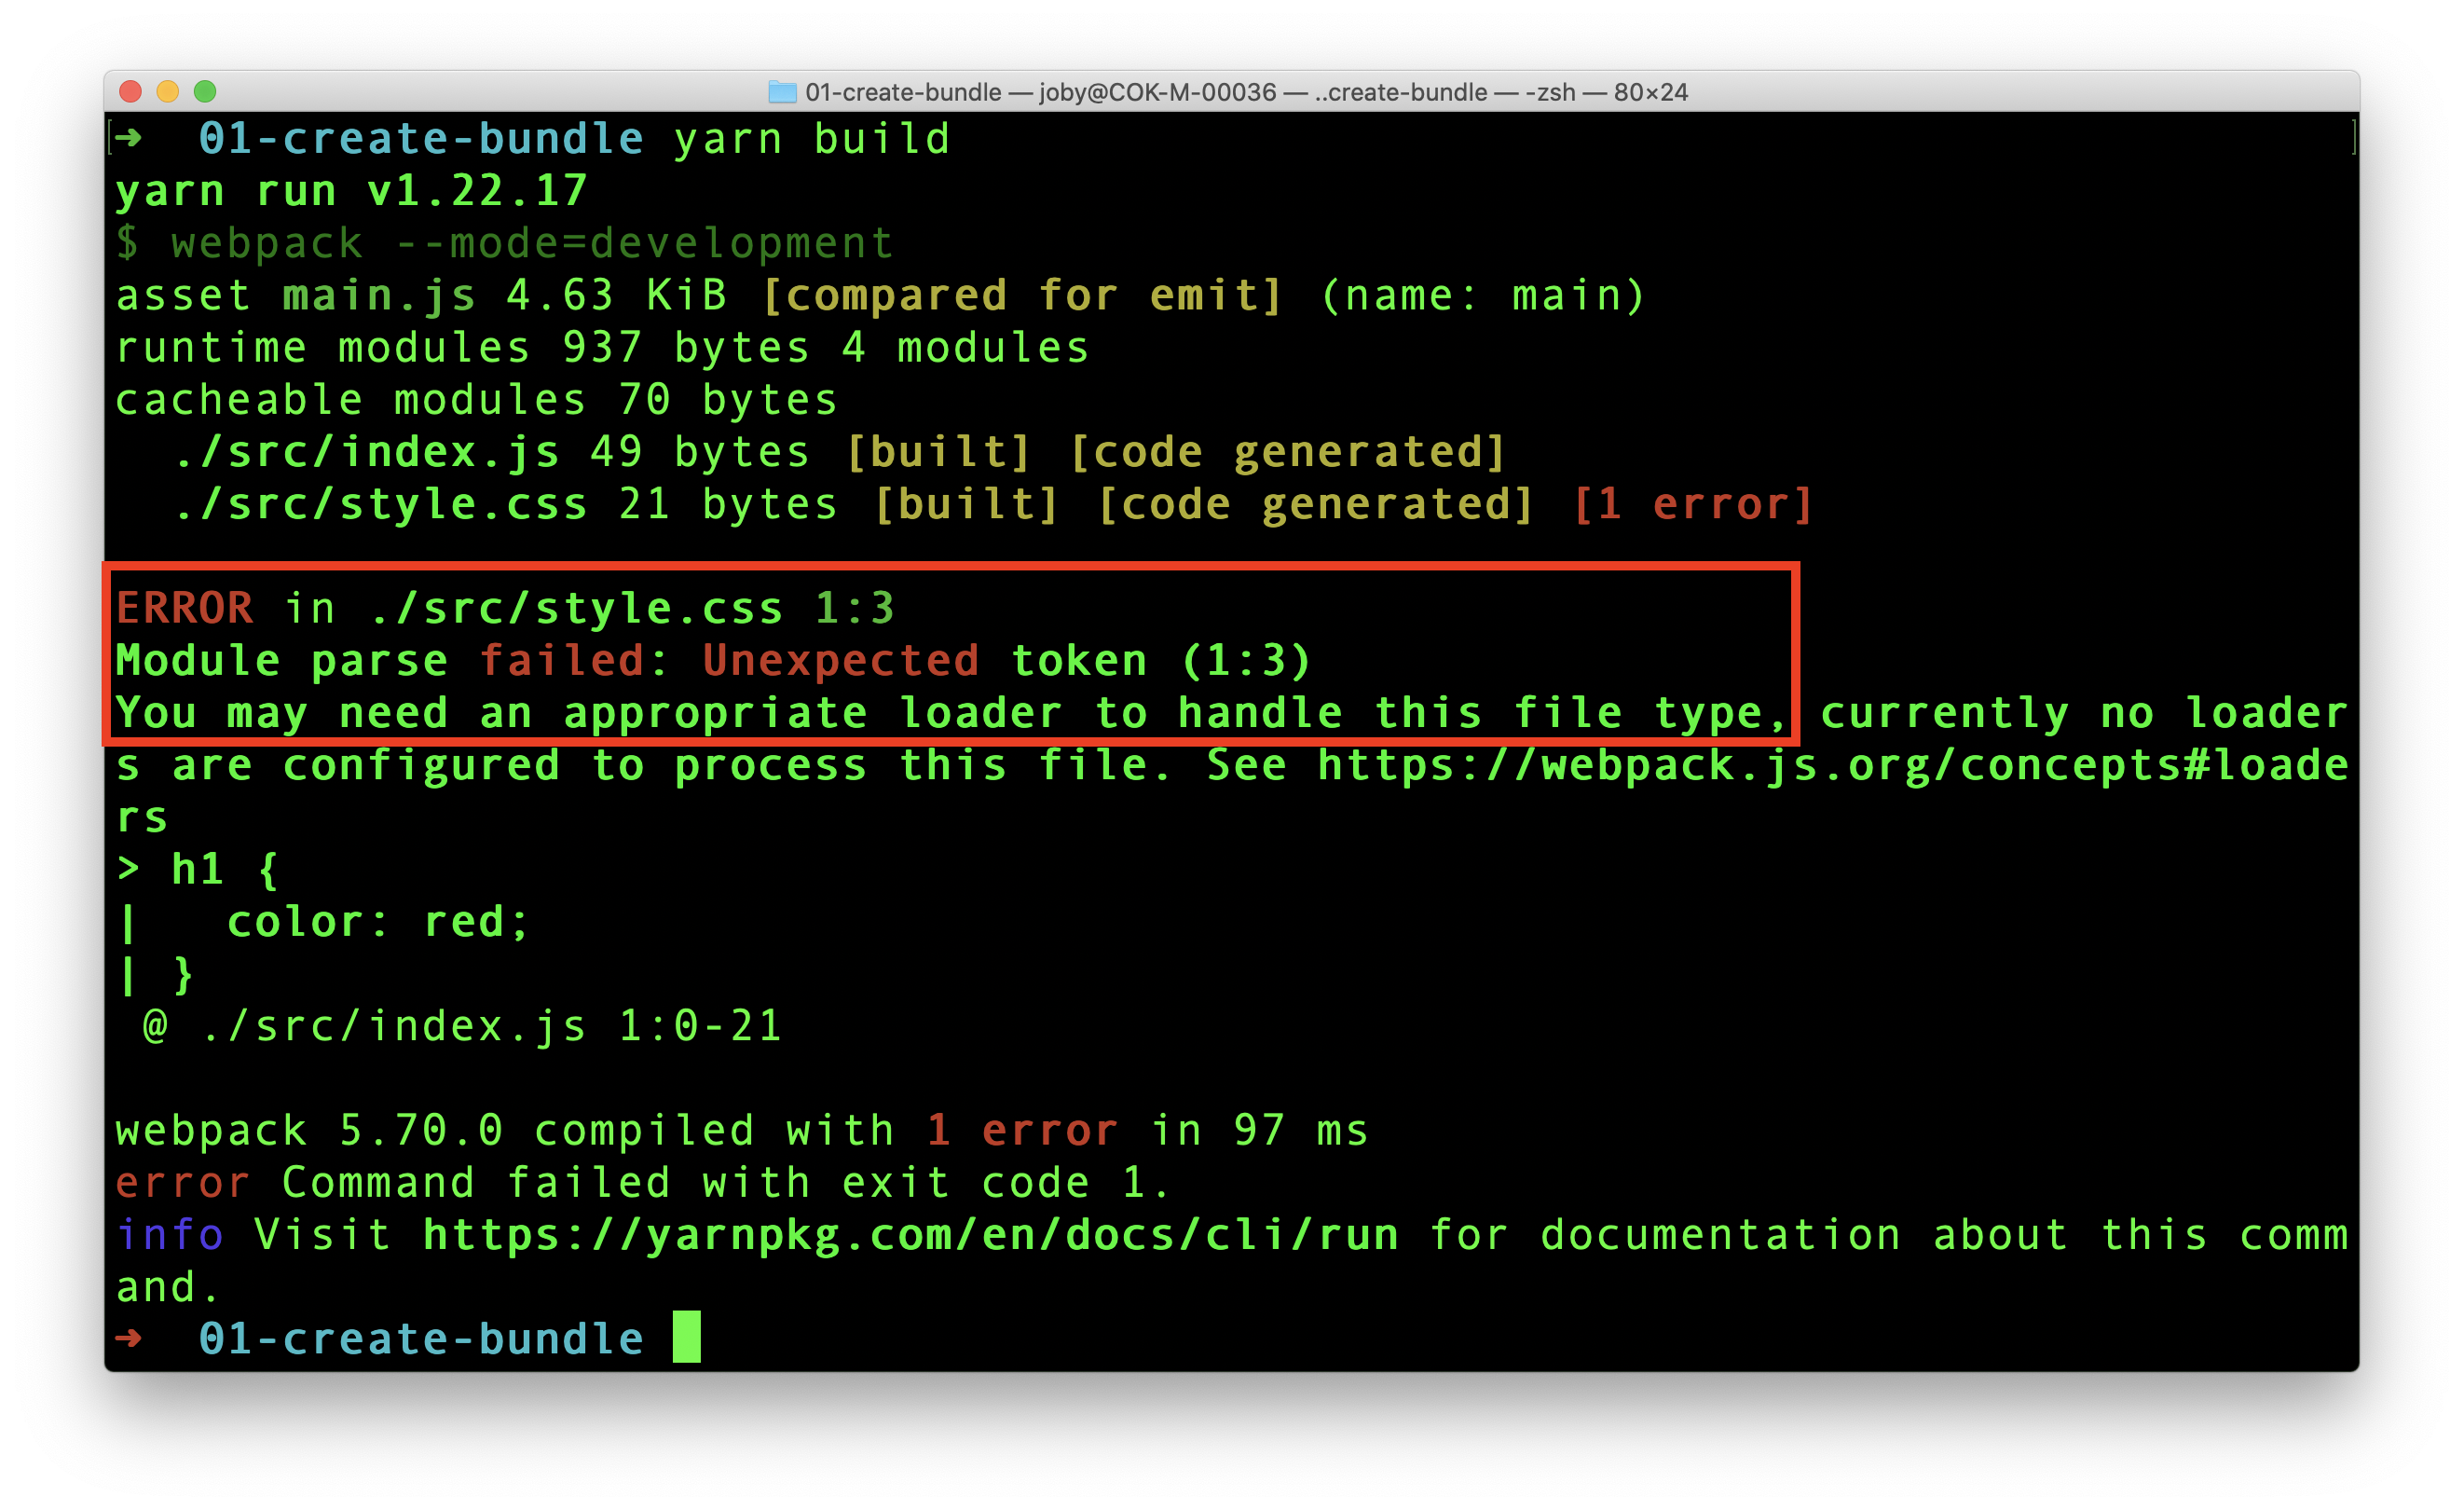
Webpack tried to include style.css. But it is not able to understand what is written there. It can understand only JavaScript and JSON. That is why webpack clearly says in the error message that:
You may need an appropriate loader to handle this file type, currently no loaders are configured to process this file.
Loaders allow webpack to process other types of files and convert them into valid modules that can be consumed by your application and added to the dependency graph.
As per the definition of loaders, in order to import a CSS file, we need to use a css-loader. Let us add it now.
yarn add -D css-loader
Now, we have the css-loader in place. Let us tell webpack to use it to load CSS files. For that, create the webpack.config.js and add below content.
module.exports = {
  module: {
    rules: [
      {
        test: /\.css$/i,
        use: ["css-loader"],
      },
    ],
  },
};
In the above code, we added a rule for CSS files. So, whenever Webpack sees an CSS import, it uses css-loader to add the CSS as a module to the bundle.
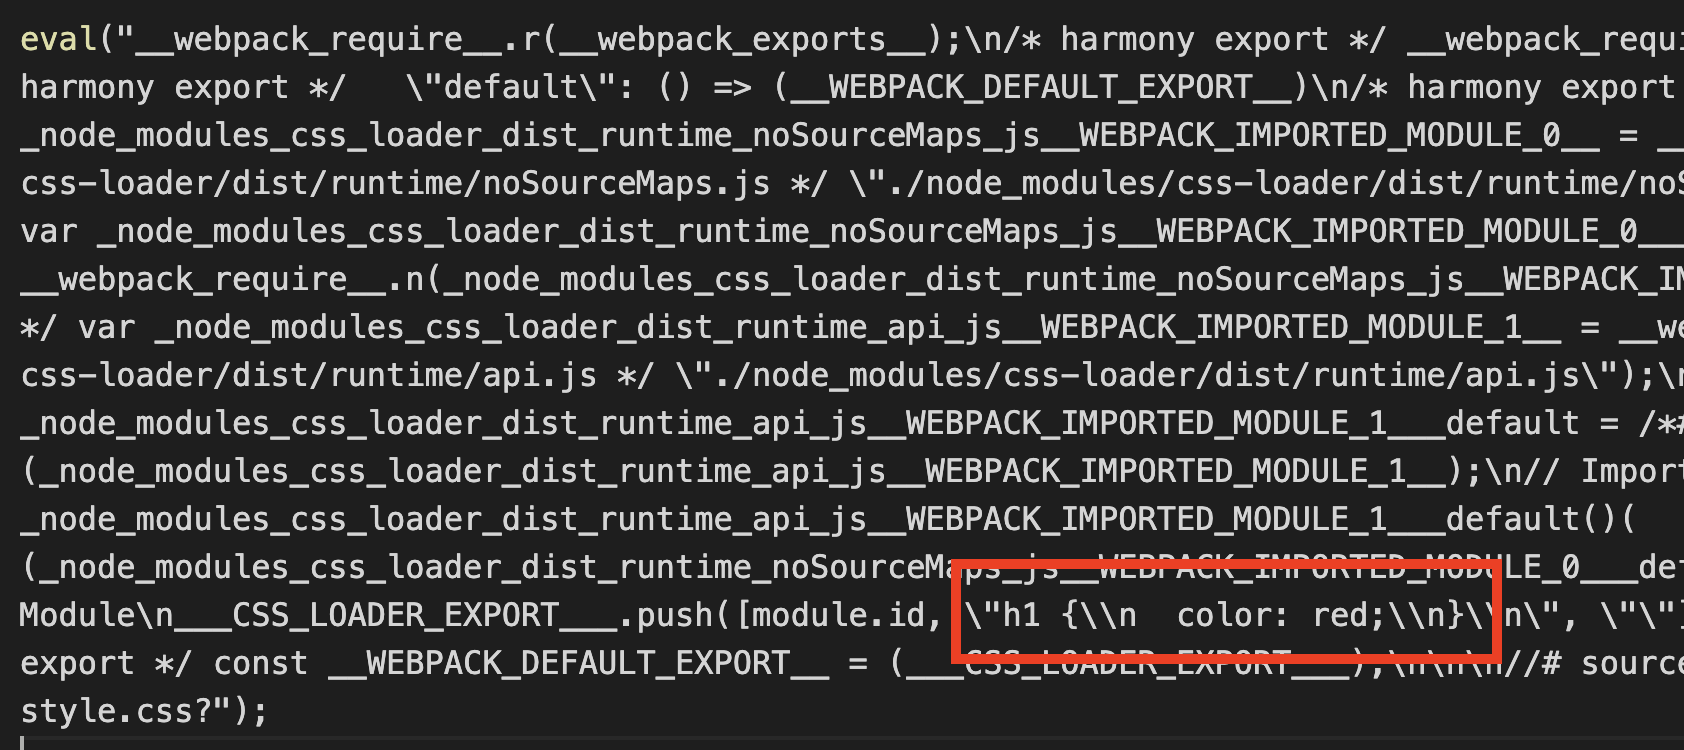
Now, things are ready to take a build. Let us run yarn build again. It creates a main.js bundle under ./dist folder. If we observe the content, we can see our CSS inside the bundle.
Let us try the bundle in a HTML file and test if the style is applied to H1 element.
Testing CSS Bundle
Create a HTML file in dist folder. Add script reference to our created main.js file.
<!DOCTYPE html>
<html lang="en">
  <head>
    <title>Webpack</title>
    <script src="main.js"></script>
  </head>
  <body>
    <h1>Hello World</h1>
  </body>
</html>
Open the HTML file in a browser. What do you see? Is the H1 tag in red color? No. right. That is because, CSS loader can add a CSS file to bundle. But it cannot inject the style to browser DOM. To inject the style to DOM, we need style-loader.
Style Loader
First step is to add the style-loader.
yarn add -D style-loader
Next, add style-loader to webpack.config.js file.
module.exports = {
  module: {
    rules: [
      {
        test: /\.css$/i,
        use: ["style-loader", "css-loader"], // highlight-line
      },
    ],
  },
};
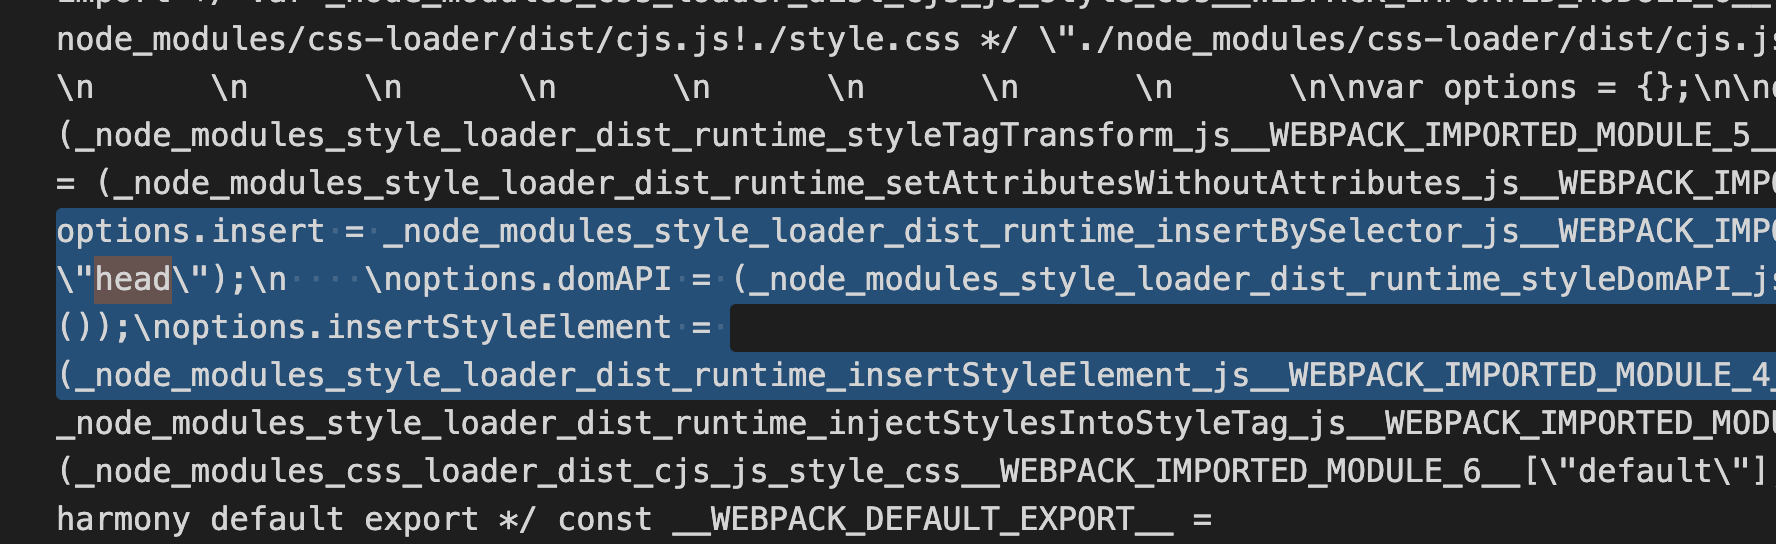
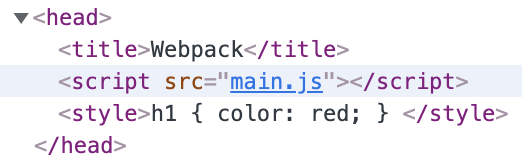
We can build the project again using yarn build. If we dig deep in the complex main.js, we can see some code that injects style to HEAD tag.
Now, refresh the HTML page again.
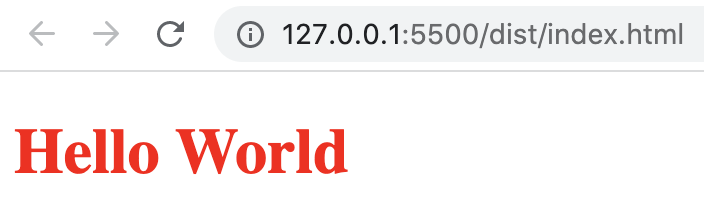
Hooray!, the style is applied. Also, we can see the style inserted to head tag.
We learned how to use webpack loader to work with CSS files. There are corresponding loaders for other file types like images, scss files and so on.